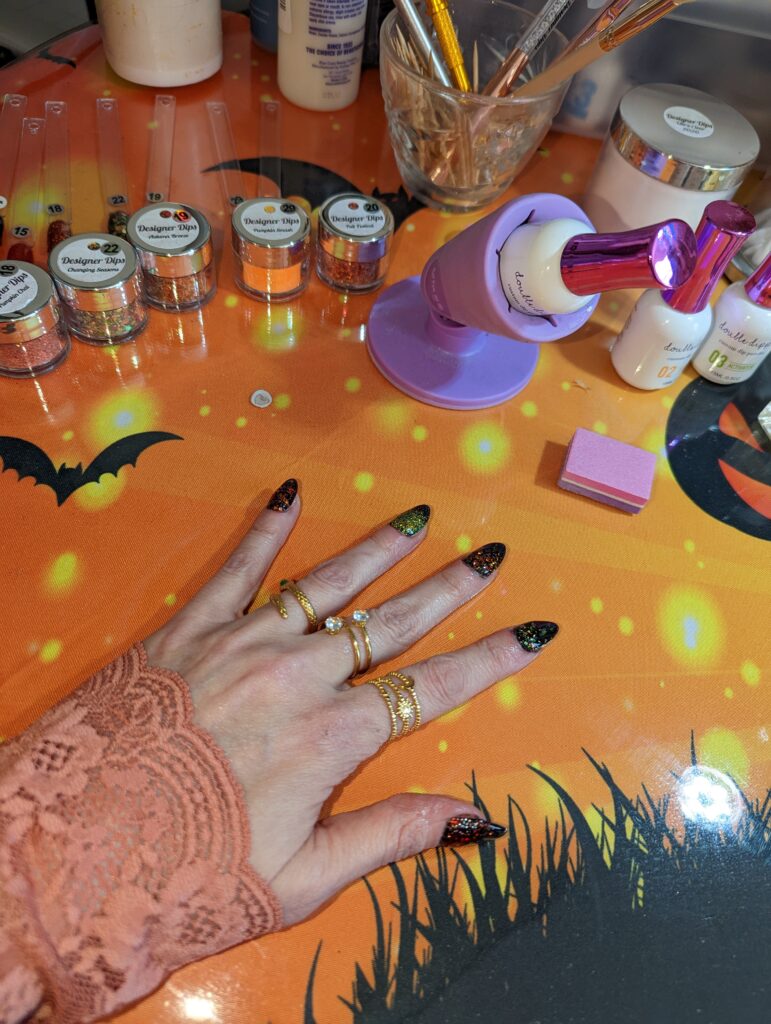
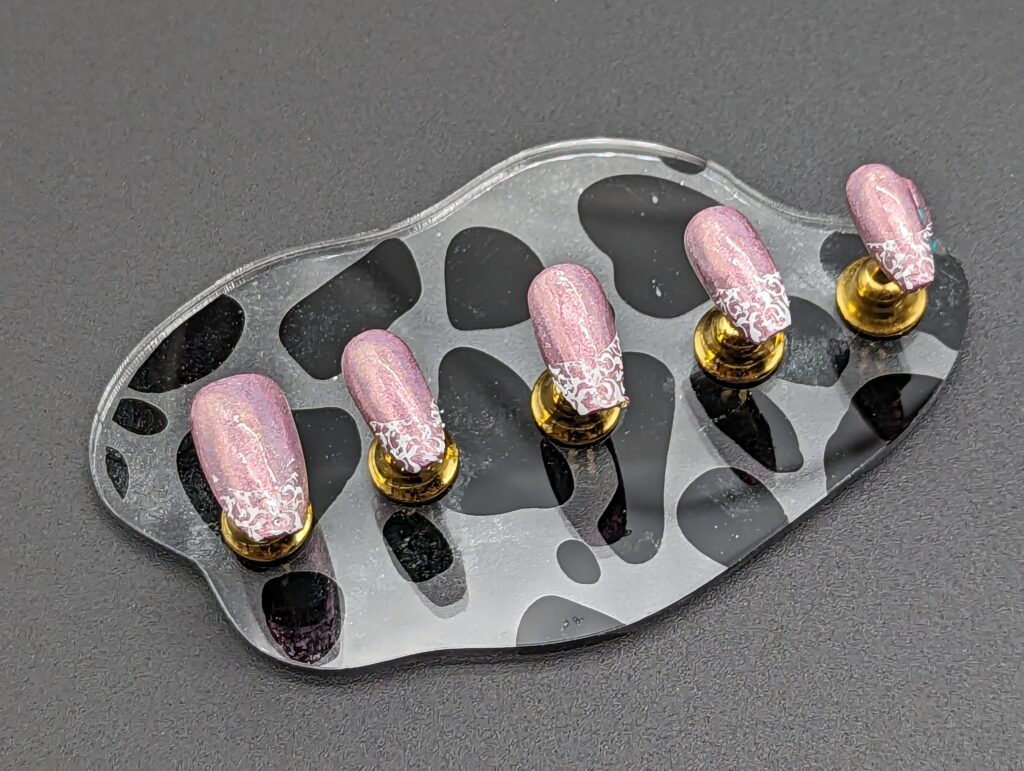
The pour over method is a popular way to apply dip powder nails. It’s a bit more time-consuming than the traditional dipping method, but it can be a great way to achieve a smooth, even finish. Read on to learn how to do the “Pour-Over” Method for Dip Nails:
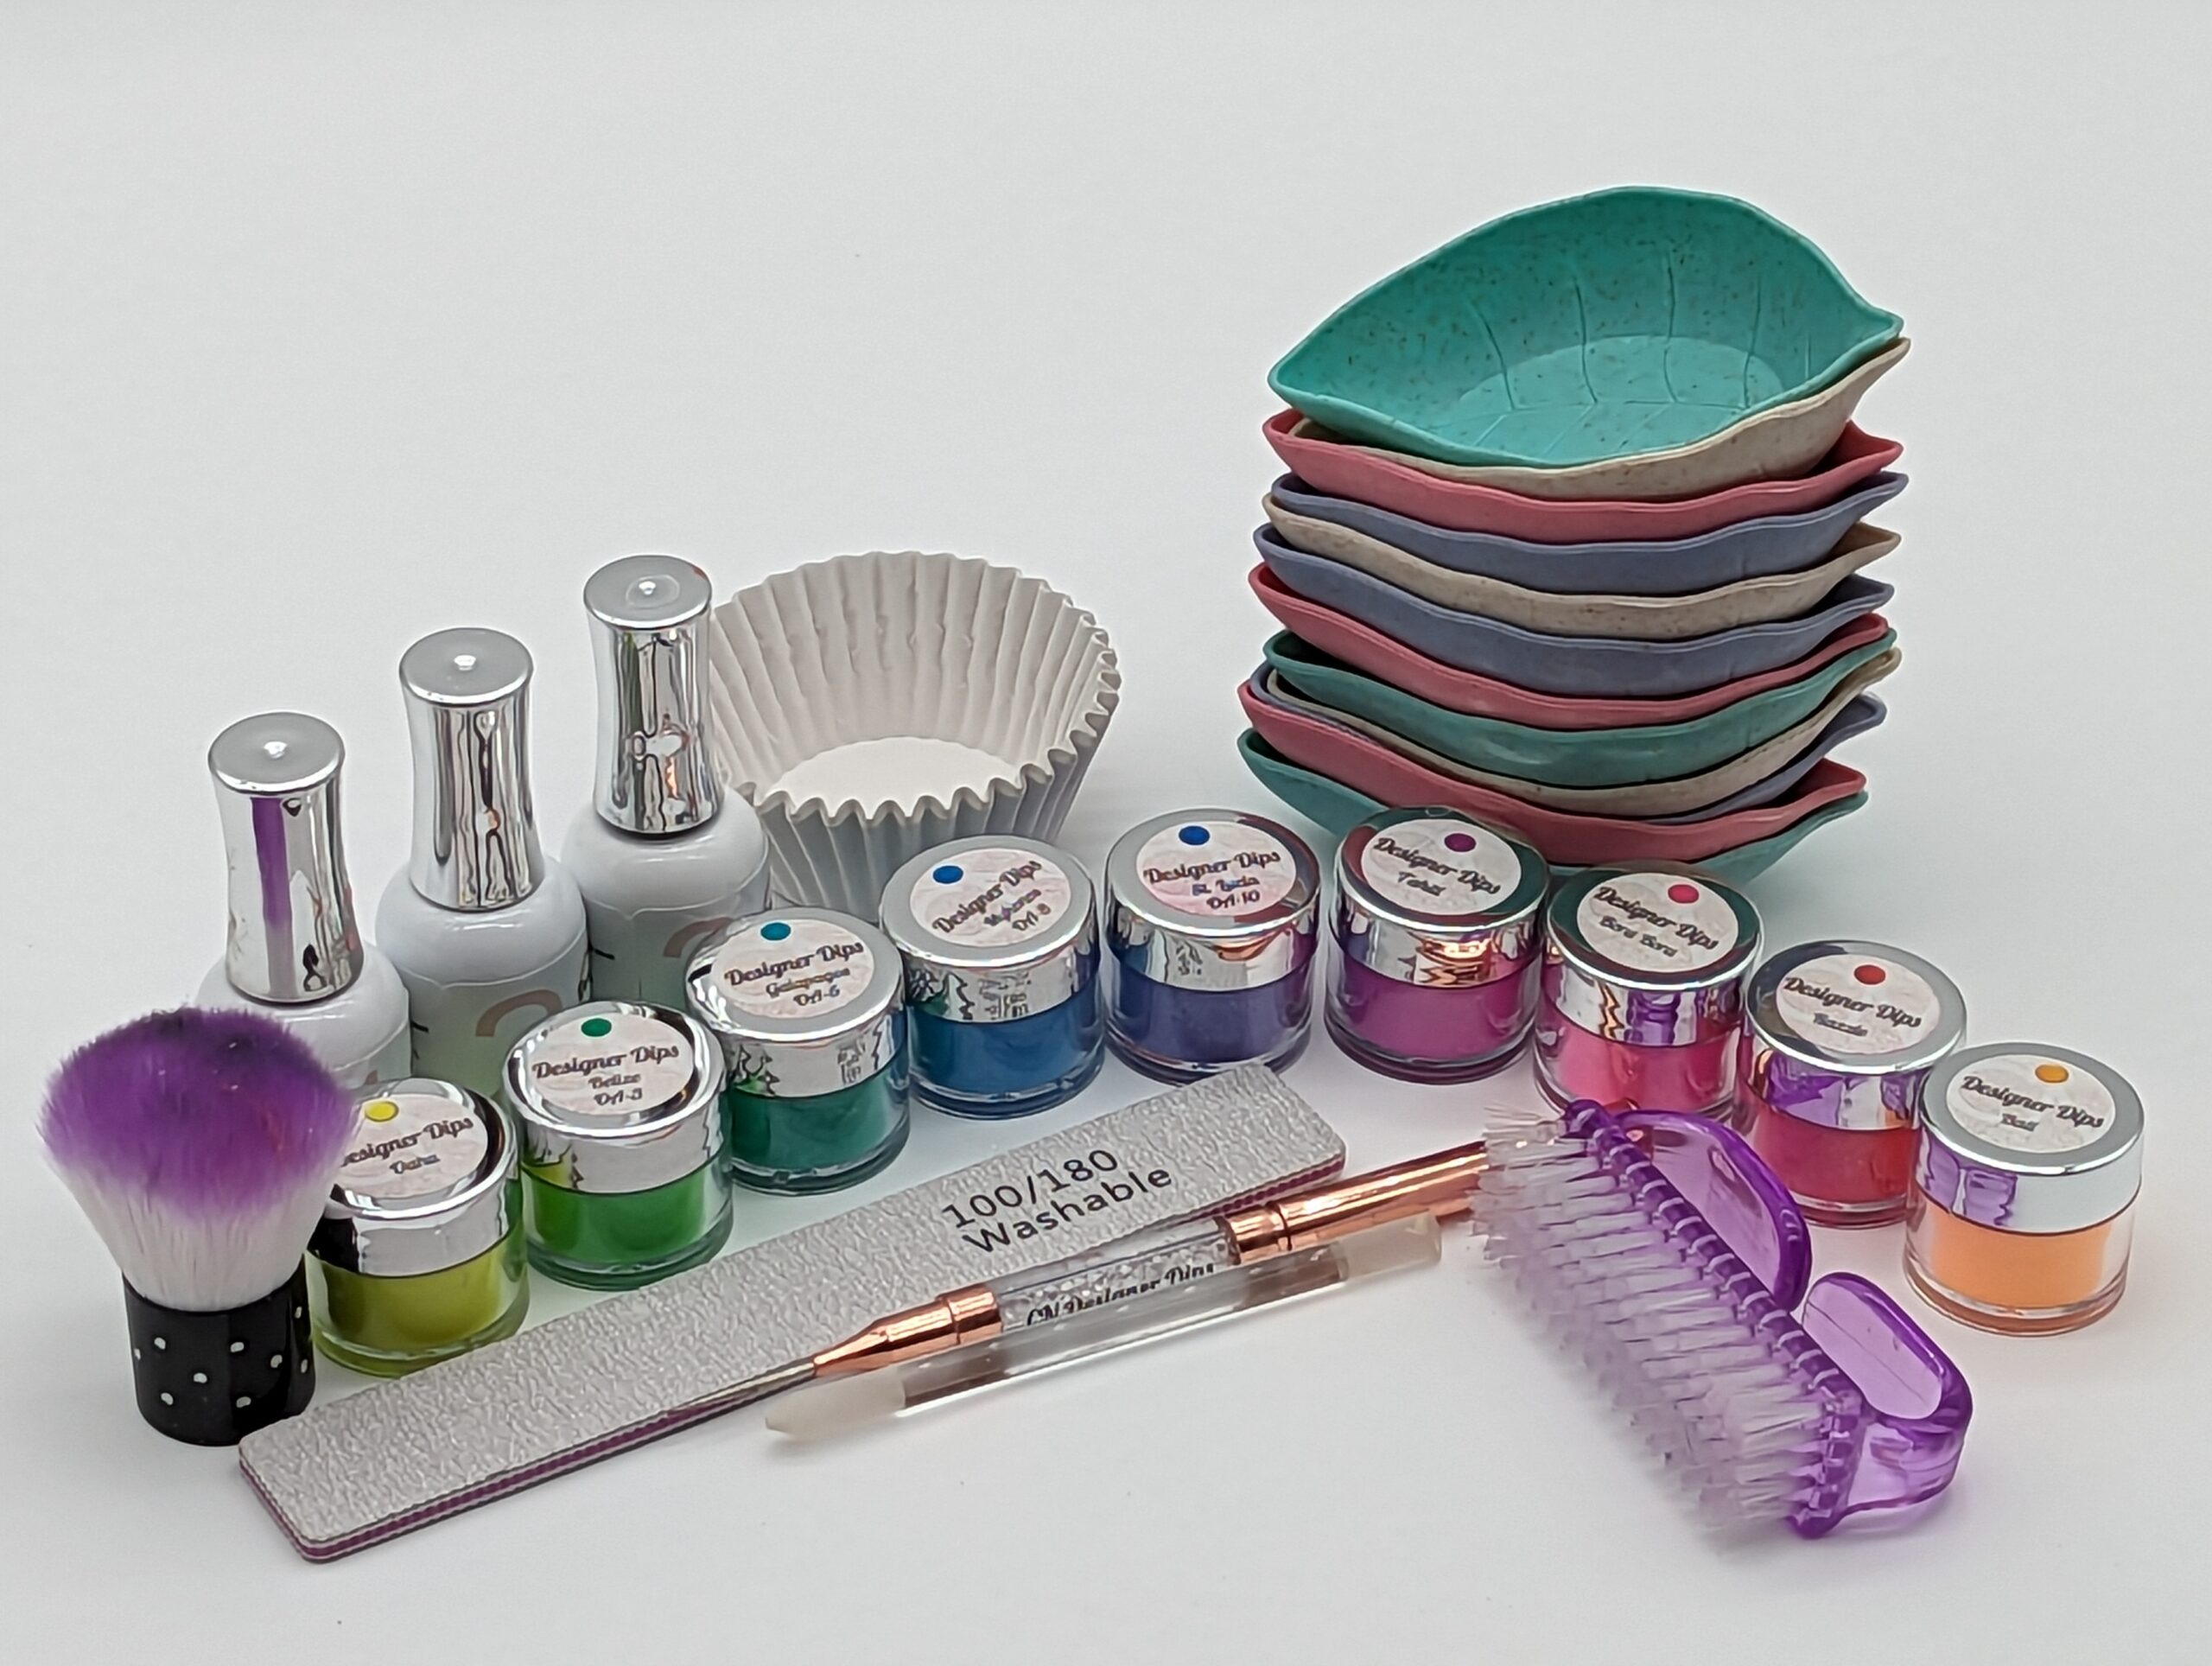
What you’ll need:
- Dip liquids (base, activator, topcoat)
- Dip powders: I highly recommend CN Designer Dips . You can order sample sizes or larger sizes for frequently used colors like clear. Use FRIENDSGET10 to save 10%. Read my review of CN Designer dips for more recommendations on this great dip company.
- Glass cuticle pusher
- Alcohol
- Lint free wipes and alcohol bottle pump
- Nail file
- Buffer
- Toothpick or precision tool
- Cupcake liners

Instructions:
- Avoid water one hour before you work on your nails. Any moisture will cause early lifting.
- Prep your nails. Push back your cuticles and file your nails to a smooth finish. Use an alcohol wipe to dehydrate your nails.
- Apply the base coat. Apply a thin layer of base coat to your nails. Cap your edges once for color or glitter and once for your final clear layer.
- Pour the powder on the nail into a cupcake liners. Making sure to coat the entire nail. I recommend a layer of clear or two if you want to remove layer with an efile so you know when to stop using the efile.
- Tap off the excess. Tap your finger on a paper towel to remove any excess powder.
- Run a toothpick or precision tool along the cuticle to make sure powder doesn’t stick to your skin.
- Repeat steps 3-5 two to three times with color or glitter powder. I dip until I get a solid application of color or glitter that looks good. Try to keep glitter to one to two layers as it tends to be bulkier.
- Repeat steps 3-5 one time with clear if covering color and two times when covering glitter. The clear dip protects and ensures you don’t file off your color or glitter layers.
- Apply the activator. Apply a thin layer of activator to your nails. Let dry according to the manufacturer’s guidelines.
- File the nail until all the bumps are gone. Buff to a smooth finish. Use your finger to feel the top and sides of your nails to make sure it’s smooth.
- Apply the activator a second time. Let dry to the manufacturer’s guidelines.
- Apply the topcoat. Apply a thin layer of topcoat to your nails. Apply in three quick swipes.
- Apply a second layer of top coat. This time make sure to apply an even finish and cap your edges.
Tips:
- Use a glass cuticle pusher to remove the invisible cuticle.
- Use a small amount of powder at a time. This will help you avoid getting too much powder on your nails.
- Tap off the excess powder thoroughly to prevent it from clumping.
- Apply the activator and topcoat in thin layers.
- Dry each layer of product according to the manufacturer’s instructions.
With a little practice, you’ll be able to master the How to do the “Pour-Over” Method for Dip Nails and create beautiful, long-lasting dip powder nails.


